Many android users have this question – why do I receive duplicate text messages on android? We will try to answer this question in this post. Additionally, you will also find solutions to fix this issue.
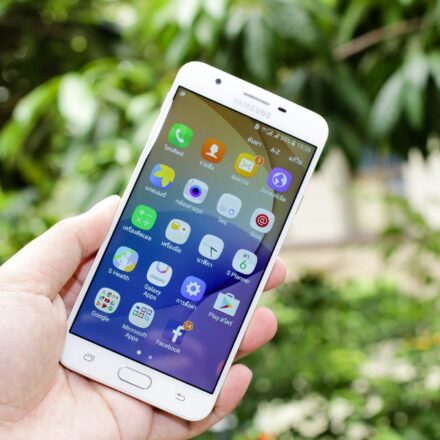
The majority of the world’s smartphone users are using Android phones. There are a lot of brands that are manufacturing android phones.
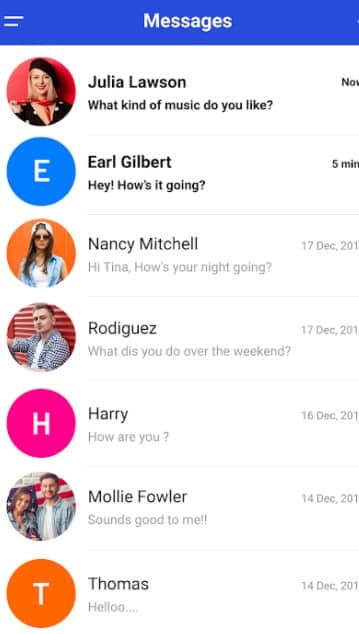
A good number of android users of various phone brands have complained that they have been receiving duplicate messages on their phones.
After some research, we have found out that this is a real thing. Also, it seems that Samsung android phone users are facing this issue the most.
But why is this happening? Is there any way to fix it? Lucky for you, we are here with the answers.
Also, we will try to share some fixes to this problem. If you face the issue of receiving duplicate or multiple messages on your Android phone, you can read the rest of the post.
And, let’s dive right in…
Why Do I Receive Duplicate Text Messages On Android?
First of all, we will be telling you the probable reasons for receiving duplicate text messages on Android. There are a few reasons here. And, we will talk about each of them one by one.
Reason #1 You Are Using 2 Messaging App
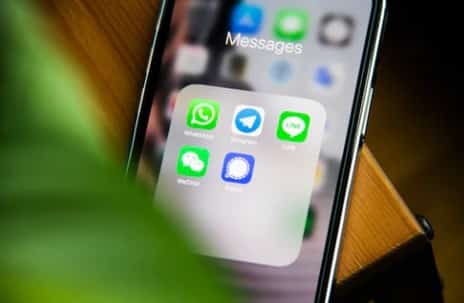
You might not know it, but there is a chance you are using 2 different messaging apps on your android phone. Typically, every android phone comes with a default messaging app.
However, there are other 3rd-party messaging apps out there as well. You can easily install them from the Play Store.
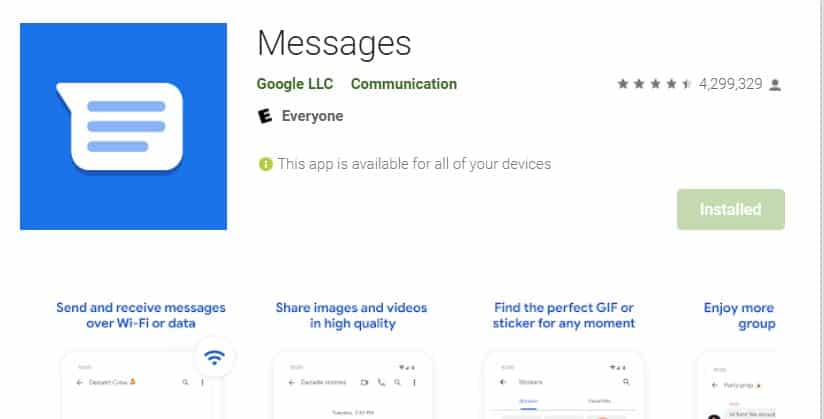
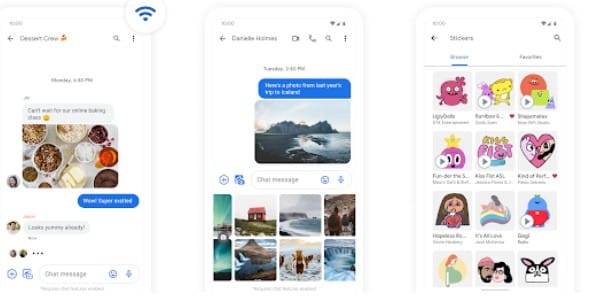
Also, Google recommends using their own ‘Messages’ app for communication. As a result, many android phone brands are pre-installing the ‘Messages’ app on their phones.
Plus, any of your family members or friends who use your phone might have installed a second messaging app. So, when your phone receives a message, you see that there are 2 notifications of the same message.
Reason #2 You Are in a Low Coverage Area
Another reason for receiving duplicate messages could be that you or the sender is in a low coverage area. That means the phones are disconnecting from the network frequently.
In that case, if a person sends you a message, it might re-deliver to you once you re-connect to the network.
Reason #3 In Case of MMS
If you have issues with receiving duplicate MMS, this could be related to your internet connection or the sender’s internet connection. If the upload/download speed of either of your phone is slow, then you might receive duplicate MMSs.
Reason #4 Issue with the Message app
Another good reason could be regarding the default messaging app. Sometimes, the messaging app might have a bug that can produce duplicate messages.
Reason #5 Issue with Your Phone
Or else, the problem could be more serious. It could be that your phone is the culprit. Most probably, a buggy software update has been the source of this issue. Or any other buggy app is the culprit.
Tutorial on Fixing Receiving Duplicate Text Messages on Android
Till now, you have learned about some of the reasons why you might receive duplicate text messages on Android. In this section, we will talk about the fixes to this problem. As usual, we have multiple tips for you.
Depending on the source of the issue and your phone model, any of the solutions could be the best option for you. So, you have to try each of them to find out the perfect one for you.
Fix #1 Uninstall the 2nd Messaging App
If you are using a 2nd messaging app on your phone, you should uninstall it right now. Otherwise, you will always receive duplicate messages.
If you don’t want to uninstall it, you can also disable it.
To Uninstall an App on Android
- First, go to the app drawer on your phone.
- Press and hold on the icon of the app you want to uninstall
- In doing so, a new overlay menu will appear over the app icon.
- From there, tap on the ‘Uninstall’ or ‘X’ or ‘Remove’ option.
- And the app will be uninstalled.
To Disable an App on Android
As there are various android phone brands, the method of disabling an app is also different.
But it is not possible to share the tutorial for each of the android mobile brands. As a result, we will describe a generic method that would be very much identical for most popular brands.
Steps to Follow
- First, go to the ‘Settings’ app on your phone.
- Then tap on the ‘Apps’ option from there.
- Again, you will have to tap on the ‘Apps’ option, which will show you the list of all the apps on your phone.
- Now, tap on the name of the app you want to disable.
- Next, tap on the ‘Disable’ or ‘Force Stop’ option to disable the app.
Now that you have uninstalled or disabled the second messaging app, you can check if you receive duplicate messages anymore.
Fix #2 Restart Your Phone
Ok, you might find it very obvious. As a matter of fact, you might think that this is not a real solution.
Interestingly, many users already reported that they had solved the issue by just restarting the phone.
If you can fix the issue by restarting the phone, why should you try any other methods? So, check by restarting your android phone whether the problem persists or not.
Fix #3 Turn On/Off Airplane Mode
If you think that the issue is related to poor network coverage, then you can try to enable and disable the ‘Airplane Mode’ on your phone. You will typically find the ‘Airplane Mode’ icon on the shortcut menu on the status bar.
So, turn on and off the airplane mode and see if it is fixed.
Fix #4 Clear Data or Cache of the Messaging App
The following solution is to clear the data or the cache of the default messaging app on your android phone.
You can easily clear the cache of any app on your phone. But depending on the model of your phone, the process might vary a little.
Still, we will try to cover clearing the cache of an app on the most popular android phone brands.
You can clear the cache of an app from time to time without any issue. Instead, it is good to clear the cache to keep your phone in a better state.
However, if you clear the app data of any app, all of the data related to that app will be deleted. And, the app will be fresh like new. You will not find any of your saved information regarding that app.
So, if you don’t have any issues in resetting the app completely, you can also clear the app’s data in android. In that case, you should remember or note down any log-in credentials before clearing the data so that you can use that information to log in to the app again later.
Now, let’s learn how to clear the cache and data on an app on android.
For Samsung Android Phones
There are a few ways to clear cache/data on a Samsung phone. Typically, you can clear the cache of all the apps at once on your Samsung android phone.
Also, you can clean the cache of each app individually. We will share both of the methods here.
Clear the Cache for All the Apps at Once
- Go to the ‘Settings’ menu on your Samsung android phone.
- Then, tap on the ‘Device Care’ option.
- Next, tap on the ‘Storage’ bottom from the bottom of the screen.
- On the next page, tap on the ‘Clean Now’ option, and all the cached data on your phone will be deleted permanently.
Clear the Cache of Individual App on Samsung Android Phone
- Once again, tap on the ‘Settings’ app icon on the app drawer to access the settings page.
- Then, tap on the ‘Device Care’ option from there.
- Next, you have to tap on the ‘Storage’ bottom from the bottom of the page.
- Later, you will have to tap on the ‘Apps’ option.
- In doing so, you will find the list of all the apps installed on your phone to locate the app you want to clear the cache. In this case, you will have to tap on the messaging app.
- Instantly, the ‘App info’ page will open on the screen with all the messaging app information.
- Here, you will have to tap on the ‘Storage’ option from below.
- Next, tap on the ‘Clear Cache’ button, and the app cache will be deleted.
- If you want, you can also tap on the ‘Clear data’ option. But remember, it will delete all the saved data of the particular app permanently.
Alternative Way to Clear the Cache of Individual App on Samsung Android Phone
The above-mentioned method will work on the latest version of Samsung Android phones. However, if you are using an older phone, you might try the method described below to clear the app’s cache.
Steps to Follow
- Navigate to the Settings menu on your Samsung android phone
- Then, tap on the ‘Apps’ option.
- In doing so, you will find the list of all the apps installed on your phone.
- So, tap on the name of the app you want to clear the cache. Here we will tap on the default messaging app.
- Next, tap on the ‘Storage’ option.
- And, then you will have to tap on the ‘Clear Cache’ button, and the cache will be cleared.
How to Clear Cache on Huawei/Honor Android Phones
If you are using a Huawei or Honor phone, then you will have to follow a different path to clear the cache on your phone. We will be explaining this method in a step-by-step manner here. Interestingly, you can follow the same steps to clear the cache of an app on most android phones. So, here we go…
Steps to Follow
- Go to the ‘Settings’ app on your phone.
- Then, tap on the ‘Apps’ option from this page.
- Next, you will have to tap on the ‘Apps’ option again.
- In doing so, the list of all the apps installed on your phone will appear.
- So, scroll down and tap on the ‘Message’ app that you want to clear the cache of
- Next, tap on the ‘Storage’ option from the next page.
- Then you will be able to clear the cache of the app by tapping on the ‘Clear Cache’ option.
By following these few steps, you can delete the app cache on any android phone, including Honor or Huawei phones.
After you have cleared the messaging app’s cache on your android phone, you should check whether the ‘duplicate message’ issue is still there.
Fix #5 Change the SIM Card
It is possible that the issue could be occurring because of the SIM card. If the SIM card is old, then it could be having difficulties in receiving the best coverage.
So, you should try and see if replacing the SIM card with another one fixes the issue.
Fix #6 Update to the Latest Version of Android
Typically, your android phone will receive regular software updates from time to time. The manufacturer tends to add many new features via the update.
If the previous software version had any bugs or issues, they try to fix them in the latest version. So, if you notice that ‘duplicate message’ issues have appeared after updating to a new software version, you should wait for a few days.
And when the next software update comes, you should instantly update to the latest version. As usual, it is a perfect practice to always keep your mobile’s software version up to date.
Fix #7 Factory Reset Your Android Phone
Now, we don’t recommend this fix. Because when you reset your phone to its factory settings, everything will be deleted from your phone. And, it will act as a brand new phone. So, you might lose a lot of your precious data in the process.
Still, there are many ways to prepare for that beforehand.
If you have tried all of the above methods and still could not fix the issue of receiving duplicate messages on your android phone, you can try to factory reset your phone.
Now, resetting your phone is very easy. However, as this process will delete all of the data on your phone, you should take a backup of the data before performing the factory reset.
After you have taken the backup of your phone’s data, you should follow the steps mentioned below.
As always, based on the model of your phone, software version, and brand, the process of resetting a phone will vary. So, we will try to cover as much as possible here.
How to Factory Reset Samsung Android Phones
- Navigate to the ‘Settings’ of your phone
- Then, tap on the ‘Backup & reset’ option from there.
- Next, tap on the ‘Factory data reset’ option.
- Then, you will have to confirm your action by tapping on the ‘Reset’ button.
- Chances are, you might be asked to enter the PIN code or password, fingerprint ID to finalize the action.
- In doing so, all of the data will be erased, and your phone will restart automatically.
- The whole process might take a bit of time. So it would be best if you waited a bit.
Alternative Way to Factory Reset Samsung Android Phones
If you find that you cannot factory data reset your Samsung and Android phone following the above method, we will have your back.
Samsung is releasing all of its phones with the OneUI user interface nowadays. In that case, you will have to follow other methods explained below to perform a hard reset on your phone.
Steps to Follow
- First, go to the ‘Settings’ app on your phone.
- Then, tap on the ‘General Management’ option from there.
- Next, tap on the ‘Reset’ button.
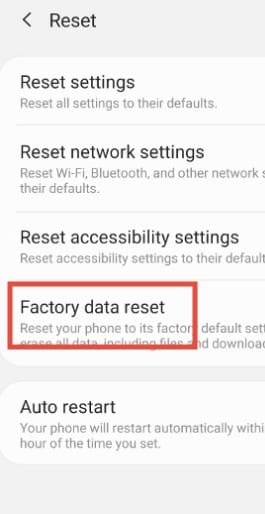
- On the next page, you will find several options of resetting your device such as Reset Settings, Reset network settings, Reset accessibility settings, Factory data reset, and auto restart.’
- Among them, you will have to tap on the ‘Factory data reset’ option.
- Now, on the next page, you have to tap on the ‘Reset’ button at the screen’s bottom. So you will have to scroll down a bit.
- At this point, you will be asked to enter the PIN or password that you have set on your phone. To enter the required information and tap on the ‘Done’ button on the screen’s virtual keyboard.
- Next, you will have to tap on the ‘Delete all’ option.
- In doing so, your phone will restart on its own, and all of the data will be erased.
- And, you will have to set the phone once again as you have just bought it.
That is it. Now, your Samsung phone is reset to the factory settings.
How to Factory Reset Huawei or Honor Android Phones
Like Samsung, Huawei is another top android phone brand in the world.
In this section, we will share how to reset your Huawei or Honor phone to its factory defaults. Once again, you should take a backup of all the files and data before performing this procedure.
Steps to Follow
- Initially, navigate to the ‘Settings’ app on your phone.
- Then, tap on the ‘System’ option at the bottom of the screen. You might need to scroll down a bit to locate the option.
- Then, on the next page, tap on the ‘Reset’ option.
- You will find 3 options on the following page, namely ‘Reset all settings, Reset network settings, and Reset phone’ options.
- Now you have to tap on the ‘Reset phone’ option from there.
- On the next page, scroll down until you find the ‘RESET PHONE’ option and tap on it.
- You will be prompted to enter the lock screen password you have set on your phone. So, enter it.
- And, on the next page, you might need to tap on the ‘Reset’ or ‘Delete all files,’ or ‘Factory data reset’ option to finalize the procedure.
Likewise, you will be able to reset any android phone to its factory settings without any issues. We believe that after performing a hard reset on your phone, the ‘receive duplicate text messages’ issue will be fixed.
Final Lines
This post has tried to shed some light on receiving duplicate text messages on Android phones.
Also, we have shared some solutions to fix these issues. But there is no way of saying which method will work the best. So, it would help if you tried each of them one by one.
If you find any working method for you, don’t forget to let us know in the comments section. Also, if you face any other issues with your android phone, you can tell us. And we will try our best to write an article with the solutions to your particular problem.
Before you go, don’t forget to share this post so that others find it helpful and check more interesting posts on Android Tipster.
More posts for you:
