
If you just joined us, we are using the software Android Studio to create our first app. All the instructions on how to get started were covered in the previous lesson. To be able to follow what we’re about to do next, i recommend that you read through Lesson 1.
Picking up where we left off in the previous lesson, we’re now in Android Studio, you can see there’s a lot going on. Just in case you run into trouble simply look up the error or just ask me in the comments section below.
In lesson 2, we will be doing a quickie tour and may also tweak some XML.
The bar on top contains some buttons, hover over them for a second or two a pop will appear and tell you what the button does.

Just below the top bar is the navigation bar. This bar tells us exactly where the open file is in the apps directory structure. Right now it’s the XML file for our activity.
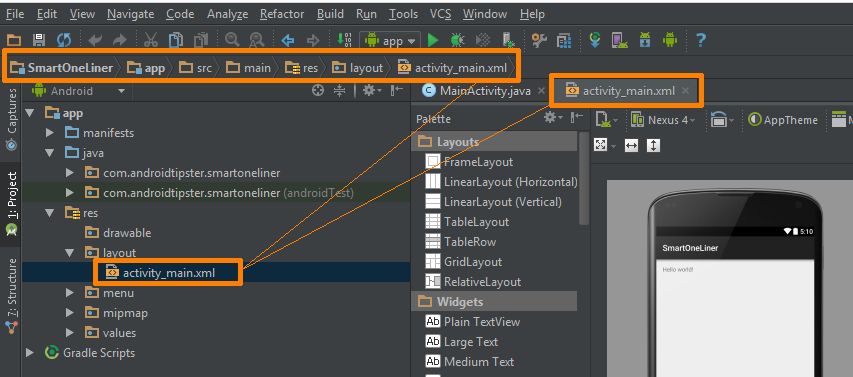
Below the navigation bar marked with the orange rectangle as seen below is our projects file structure, by default it is open to only show the files we edit in the app directory, but if you want to see your complete project structure click the dropdown button and select project. For this lesson we will just stick with android.
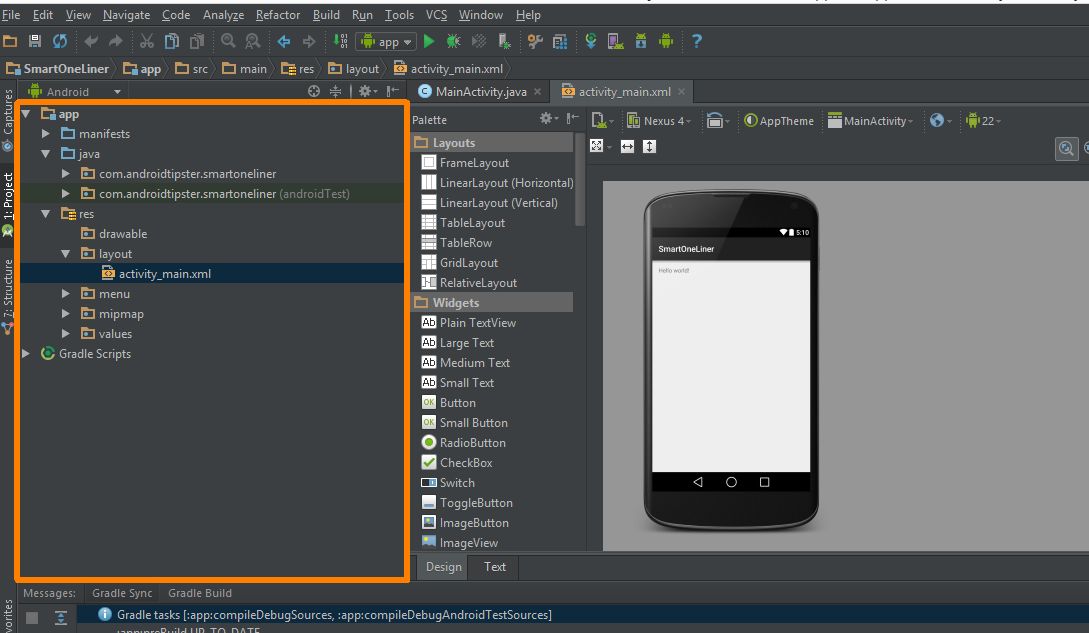
We are going to be working with java which holds our main activity class (our app’s brain), and the layout folder within res (resources), which holds our main activity XML file that controls the layout of the home screen. It also holds launcher icons, images and other defaults for the app. These are our main directories.

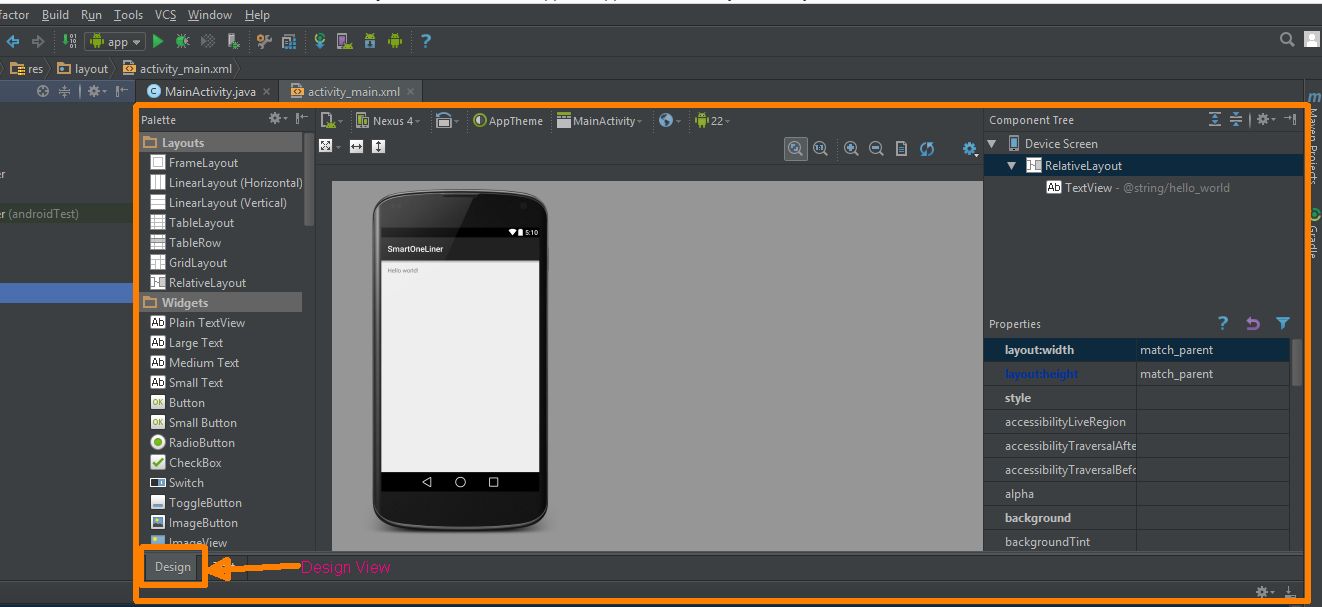
To the right of the project pane we have our text editor where all the magic happens. This is where we’ll be writing the sweet code to make our app run. Right now it’s design view, an interface for building the layout of our app. We can drag the widgets on the left side onto our phones screen. Then on the right side is our component tree that shows all the stuff on our screen. Right now it’s just the words ‘hello world’, which is a Textview. Views are kind of the generic term for any item we put into our apps layout.
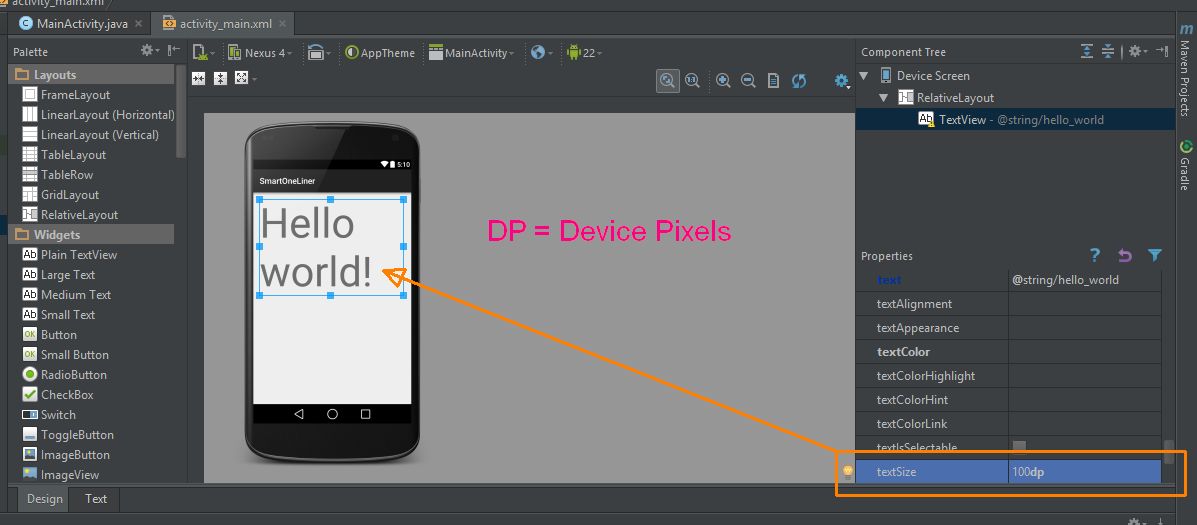
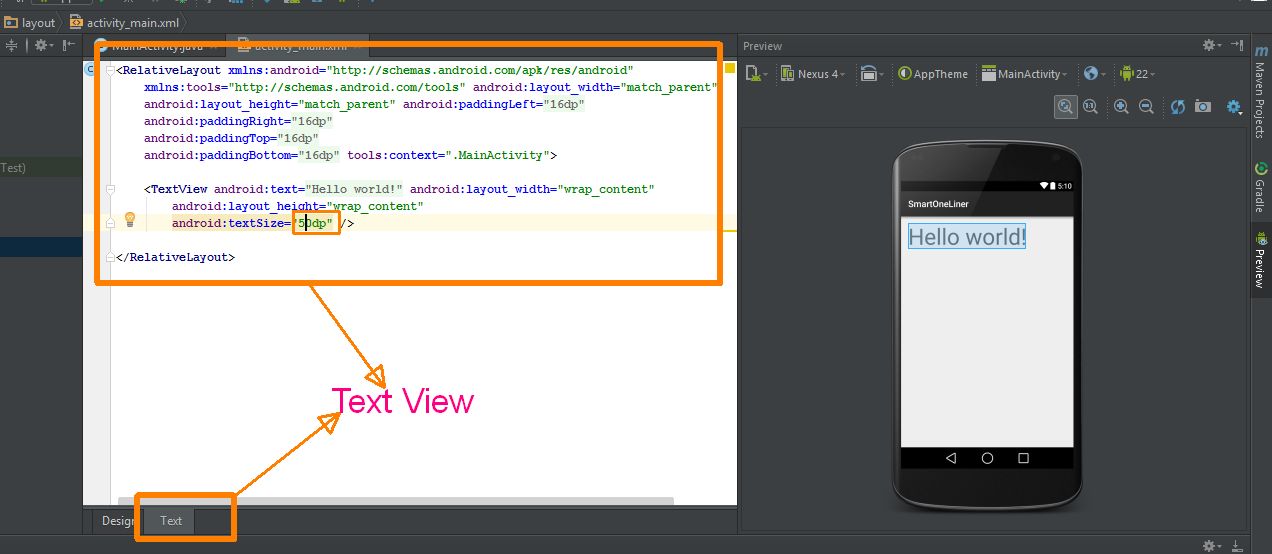
Below that is the properties of whatever view we have selected. If we wanted to make the text size of ‘hello world’ bigger, select hello world by clicking on it, then click into the properties pane. If we just start typing ‘text size’ it will automatically search for that property and we input 100 dp. Dp stands for device pixels which is a size measurement that helps standardize sizing across devices. If your phone is 1920×1080, like the nexus 5, you can’t use actual pixel measurements or your text will be ridiculously small, put in 12px and you’ll see.
Click the text display at the bottom, this is the XML creating our layout, the design view is just a preview of this file. Android uses XML for a lot of configuration files. XML is similar to HTML, but lets you make tags say whatever the heck you want. It gives you a consistent way to structure data with an opening and closing tag, plus attributes. The change we made to text size was applied to activity XML automatically. We can also edit the XML directly and the design view shows that change. Let’s make the text size 50 and look back at the design view. Ok cool, now our text is half the size.
But this is just a preview of the greatest app in the world, we can’t interact with our app on this screen. We need an emulator to run our app. An emulator creates a virtual phone on our computer, it’s not as good as the real thing, but it’s close and so convenient.
Click the little phone icon which is the AVD manager.
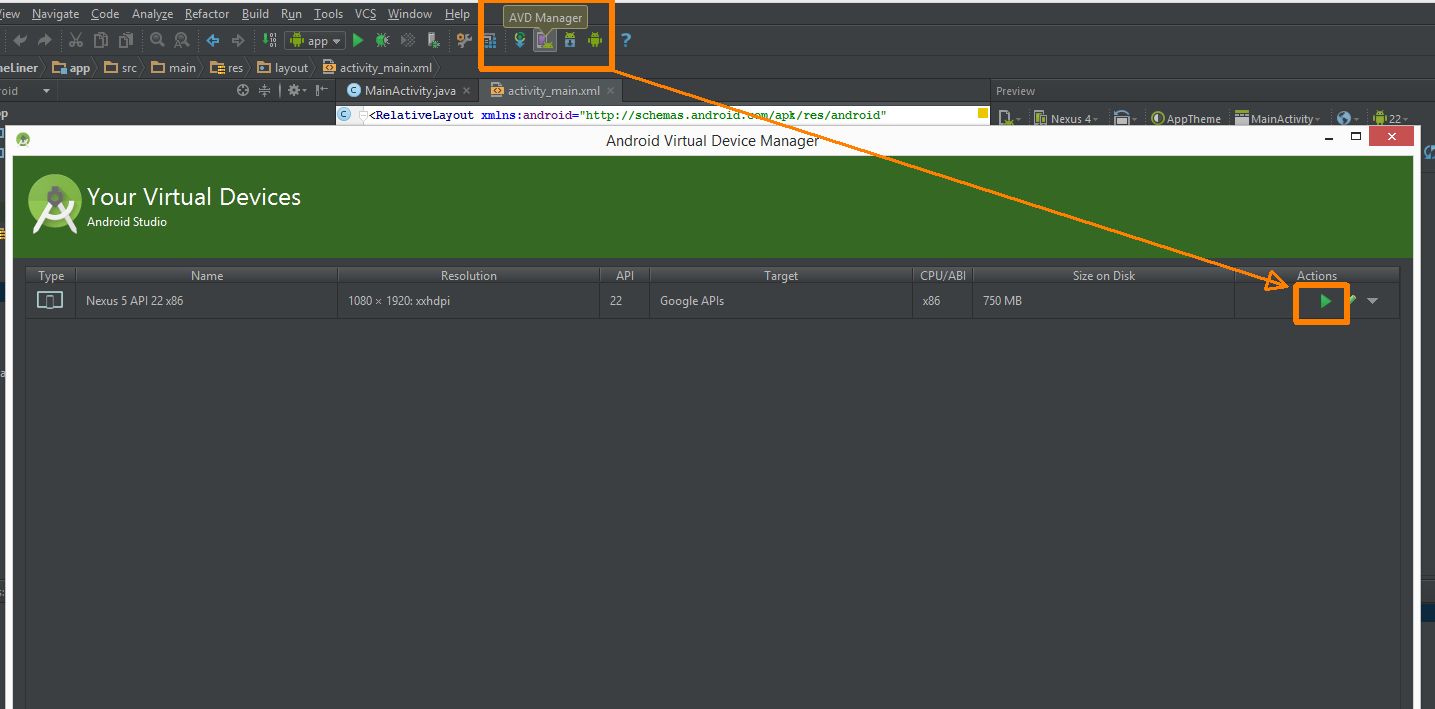
This is where we can create our Android Virtual Devices, or emulators. You can launch the default emulator by clicking the green play button next to it. But let’s run it from android studio.
Close AVD and click the small green play button on the tool bar. If an emulator was already running we could choose it, but let’s choose launch emulator. Now this will be really, really, slow if you’re launching it for the first time. So be patient, Android Studio is building you a phone within your computer, a computer within a computer, an inception computer.
In real life we use an emulator called GenyMotion, it’s really easy to get started with and is waaaay faster than the emulators you create in Android studio.
In the next lesson we’re gonna get our hands dirty laying out our app.


